Showing posts with label Docker. Show all posts

Monday, November 2, 2020

Docker Swarm With Multi Master


Please go through the "Docker Swarm Single Master" configuration if you are new to this concept.

URL: https://sltechgeekx.blogspot.com/2020/07/docker-swarm.html

Docker Swarm With Multi-Master 

If the swarm loses the quorum of managers, the swarm cannot perform management tasks. If your swarm has multiple managers, always have more than two. To maintain quorum, a majority of managers must be available. An odd number of managers is recommended, because the next even number does not make the quorum easier to keep. For instance, whether you have 3 or 4 managers, you can still only lose 1 manager and maintain the quorum. If you have 5 or 6 managers, you can still only lose two.

Even if a swarm loses the quorum of managers, swarm tasks on existing worker nodes continue to run. However, swarm nodes cannot be added, updated, or removed, and new or existing tasks cannot be started, stopped, moved, or updated.

You should maintain an odd number of managers in the swarm to support manager node failures.


Configurations

In this example we need 5 servers.

Manager Node --> 3
Worker Node --> 2

Manager-1 --> 192.168.1.131
Manager-2 --> 192.168.1.132
Manager-3 --> 192.168.1.133

Worker-1 --> 192.168.1.134
Worker-2 --> 192.168.1.135

Step 1

Install and enable docker service in each servers

yum install docker-ce docker-ce-cli containerd.io

systemctl enable docker
systemctl start docker

Step 2

Configure docker swarm in manager-1 node

docker swarm init --advertise-addr 192.168.1.131


Step 3

Add Worker Node to docker swarm. You will get join token for worker nodes from above command.

docker swarm join --token SWMTKN-1-17drizdszlt8ftwnw4nzafrmv9h0cjp9f53dcwm10kk52baulp-44vv9fwo8upmoba3j1vxcruro 192.168.1.131:2377

Step 4

Add Manager Nodes to docker swarm
Execute below command to generate manager token

docker swarm join-token manager


Execute the join token in each manager nodes.

docker swarm join --token SWMTKN-1-17drizdszlt8ftwnw4nzafrmv9h0cjp9f53dcwm10kk52baulp-bvfss1vww7caykf6tfk23ijg9 192.168.1.131:2377

To verify the docker nodes execute below command.

docker node ls


Step 5

Create Docker Service

Here I am using nginx docker image to create docker image. Initially I am creating five docker-nginx containers and expose port 80 and 443 for out side. Also I am limit the memory and CPU for each containers.

docker service create --limit-cpu 1 --limit-memory 500MB --replicas 5 -p 80:80 -p 443:443 --hostname=docker-nginx.local --name docker-nginx nginx

To verify the docker service 

docker service ls


You can type manager IP to load the webserver default page.

http://192.168.1.131/

Checking high availability of the Docker Swarm

As pet the below image, we have 3 manager nodes and "Leader" is manager-1. 


Now we are going to shutdown the manager-1 node. 
After Shutdown the manager-1, you can verify docker swarm node status by executing below command.


Now our new leader is manager-2

Saturday, October 31, 2020

Docker Swarm With Single Master

What is swarm?

Docker With Spring Boot and MySQL: Docker Swarm Part 3 - DZone ...

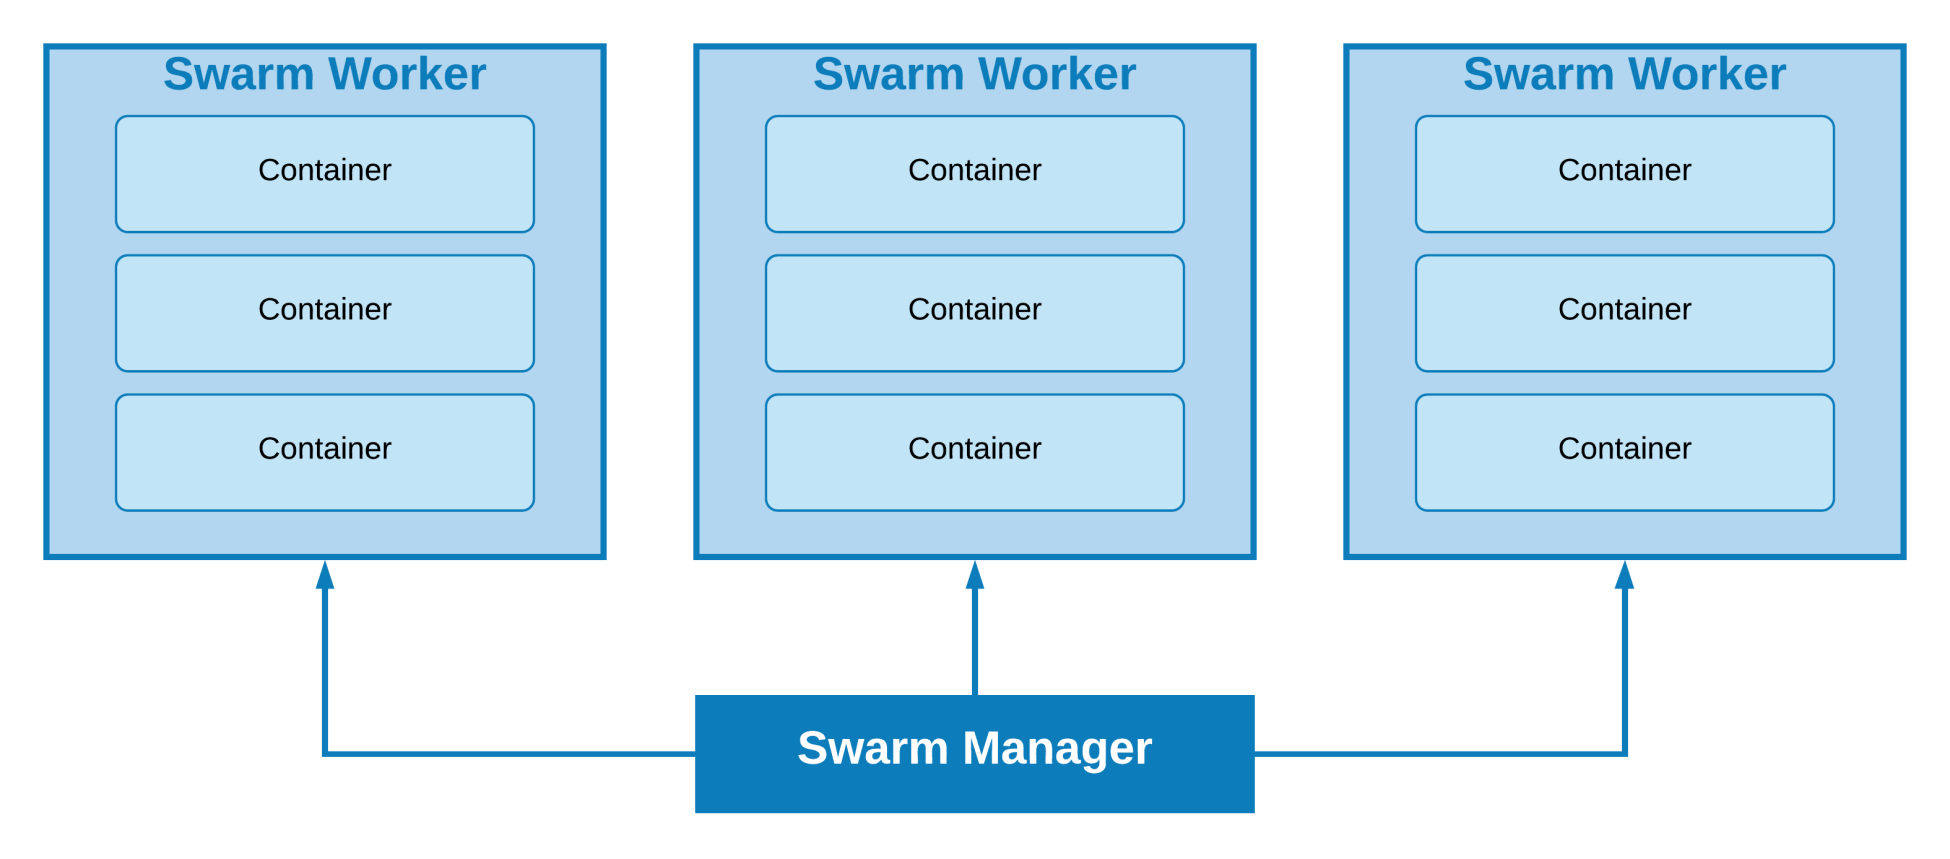
Docker swarm is the concept which is use to do cluster management in dcockr. swarm contain multiple docker host know as nodes. Node can be a manager or worker.

Manager --> Manage swarm services 
Worker --> Fasilitate to run swarm services

How to configure docker swarm?

We need to have 3 servers

1--Master Node
2--Worker Node

Master --> 192.168.1.131
Worker-1 --> 192.168.1.132
Worker-2 --> 192.168.1.133

Step 1

Install and enable docker service in each servers

yum install docker-ce docker-ce-cli containerd.io

systemctl enable docker
systemctl start docker

Step 2

Configure docker swarm in manager node

docker swarm init --advertise-addr 192.168.1.131

Step 3

Add Worker Node to docker swarm. You will get join token for worker nodes from above command.

docker swarm join --token SWMTKN-1-4756c3muztsup58wb0hc8ewwturxwmp3s40gbmx3ts9m5dmbwr-dpt2duvjtsayw9w3l73q49r1e 192.168.1.131:2377

To verify the docker nodes

docker node ls

Step 4

Create Docker Service

Here I am using nginx docker image to create docker image. Initially I am creating three docker-nginx containers and expose port 80 and 443 for out side.

docker service create --replicas 3 -p 80:80 -p 443:443 --hostname=docker-nginx.local --name docker-nginx nginx

To verify the docker service 

docker service ls


Scale the service

docker service scale vqnerzh63o45=4


You can type manager IP to load the webserver default page.

http://192.168.1.131/


Monday, October 12, 2020

How to make enable Multicast/UDP traffic into the docker container

When you create your docker container using the image you can specify the docker directories and ports which need to expose to outside (physical server)

docker create -t -v /home/user/app/service/appconf:/home/user/app/service/appconf -v /home/user/app/service/back:/home/user/app/service/back -v /home/user/app/service/log:/home/user/app/service/log -p 9020:9020 p 9099:9099   --net=host --hostname=docker-dk-lk --name=docker-dk docker-dk-server:docker-dk-server_v1

This is the command which we used in creating the container.

Right after the folder mapping we can do the mapping for ports.

  • --net=host   -  This is the tag which we used to get all the physical server network routings in to the docker container.  This tag is very useful whenever you struggle to get the UDP traffic in to the container.Even though by default TCP traffic ought to reach into the container, you need this parameter to route the multicast/UDP traffic in. 
  • --hostname  -  This allows you to configure the required hostname for the container
  • --name - Container name which is stored in the server under.

End of the command we can find the relevant image repository location and the image name need to download.

Tuesday, July 28, 2020

Create Docker Local Repository (insecure registry)

Create Docker Local Repository (insecure registry)


In this demo I am using "CentOS Linux release 7.7.1908 (Core)". 

Local registry host name: mylocalregistry.local

Step 1

Add local DNS record for /etc/hosts file

vi /etc/hosts


Step 2

Install and enable docker service in each servers

yum install docker-ce docker-ce-cli containerd.io

systemctl enable docker
systemctl start docker

Step 3

Disable SELinux

setenforce 0


Also change the "/etc/selinux/config" to make it permanent.


Step 4

Edit the daemon.json file, whose default location is /etc/docker/daemon.json on each docker host servers.

{
  "insecure-registries" : ["mylocalregistry.local:5000"]
}

Note: Once you done the change restart the docker service.

Step 5

Generate self sigh certificate

mkdir -p /certs

openssl req \
  -newkey rsa:4096 -nodes -sha256 -keyout /certs/mylocalregistry.local.key \
  -x509 -days 365 -out /certs/mylocalregistry.local.crt


Copy mylocalregistry.local.crt to /etc/pki/ca-trust/source/anchors/


Update trust certificate list.


Step 6

Create local registry

Execute below command 

docker run -d --restart=always --name my-docker-registry -v /certs:/certs -e REGISTRY_HTTP_ADDR=0.0.0.0:443 -e REGISTRY_HTTP_TLS_CERTIFICATE=/certs/mylocalregistry.local.crt -e REGISTRY_HTTP_TLS_KEY=/certs/mylocalregistry.local.key -p 443:443 -p 5000:5000 registry:2


To verify the docker repo running